Transitioning your property to renewable energy is one of the most exciting upgrades a modern Canadian homeowner can undertake. Bolting a solar grid to your home significantly lowers your carbon footprint while providing a reliable hedge against rising municipal utility rates. However, before you sign a contract with a solar provider, it is absolutely vital to consult a professional roofing company to evaluate your structural foundation. Too many homeowners view their roofs as simple, indestructible surfaces rather than integrated structural ecosystems that have strict load limits.
Adding a heavy alternative energy grid to an aging or unverified roof can trigger a cascading series of structural problems over time. Just as poured materials require a solid, engineered base to prevent cracking on a heavy asphalt driveway, your home’s framing requires verified structural integrity to host heavy racking equipment. Taking the time to understand the physics of roof-mounted energy systems ensures your home remains safe, dry, and efficient for decades to come.
- The Quick Edit
- The Structural Math: Dead Loads and Canadian Snow Loads
- Beyond Efficiency: The Long-Term Benefits of Roof-Mounted Solar
- Traditional Solar Panels vs. Solar Shingles: The Tech Showdown
- The Lifespan Matrix: Why Installation Timing Is Everything
- Substrate Breakdown: How Solar Mounts Affect Different Roof Surfaces
- The Pre-Solar Inspection: An Essential Homeowner Checklist
- The Bottom Line: Protecting Your Roof and Your Investment
The Quick Edit
- The Structural Load: Solar panels add static dead load to your property, meaning your roof framing must be verified to handle the combined weight of racks, panels, and heavy Canadian winter snow packs.
- The Integration Tech: Homeowners can choose between heavy, traditional bolt-on racks or sleek, lightweight solar shingles that replace standard materials entirely to streamline weight distribution.
- The Golden Timing Rule: Always synchronize the age of your roof with the lifespan of your solar panels; installing a 30-year solar grid over a substrate with only 5 years of life left is an incredibly costly mistake.
The Structural Math: Dead Loads and Canadian Snow Loads
When evaluating a home for a solar energy upgrade, structural engineers look closely at weight. They divide this into two distinct categories: dead loads and live loads. Dead load refers to the permanent, static weight of the building materials themselves. This metric includes the rafters, plywood decking, and your primary roofing material.
Traditional bolt-on solar arrays add an extra weight burden. They contribute 2 to 4 pounds per square foot of dead load across your roof plane. While that might sound minor, a full residential setup adds up quickly. It can easily add up to 1,000 pounds of permanent weight to your rafters.
In Canada, this extra weight becomes a critical safety calculation when winter arrives. Cold weather introduces heavy live loads to the structure. Live load refers to temporary, moving forces on your home. Heavy winter snow packs represent the most dangerous seasonal variable.
A massive dumping of wet, heavy snow can pile on top of a solar array. When this happens, the combined physical stress tests the absolute limits of your home’s structural framing. Your roof trusses might be older or spaced too far apart. They might also be suffering from hidden moisture degradation. In these scenarios, the combined weight can cause ceilings to sag or crack.
Before mounting solar panels on roof frames, take precautions. A certified engineer must verify that your specific rafter network has the required capacity. Skipping this structural assessment is dangerous. It can put your home at serious risk during a severe winter storm cycle.
Beyond Efficiency: The Long-Term Benefits of Roof-Mounted Solar
Despite the structural checks required, the long-term benefits of embracing roof-mounted solar technology are undeniable. The most immediate advantage is financial, as harvesting clean sunlight allows you to drastically cut your reliance on the traditional electrical grid. Over time, the energy generated completely pays off the upfront installation costs, transforming your roof from a passive expense into an active wealth-generating asset.
Additionally, solar arrays provide a highly effective, physical layer of defence for your primary roofing materials. Intense UV rays are a leading cause of premature roof degradation, slowly drying out chemical binders and making roofing substrates brittle over time. Solar panels act like a structural umbrella, intercepting this harsh solar radiation and keeping the underlying roof materials completely shaded.
This physical shielding creates a noticeably cooler buffer zone directly above your attic space during hot summer months. Because the solar panels absorb the brunt of the sun’s energy, less ambient heat penetrates your home’s living spaces. This temperature drop reduces the daily strain placed on your indoor air conditioning system, saving you money on utility bills while extending the lifespan of your cooling equipment.
Traditional Solar Panels vs. Solar Shingles: The Tech Showdown
As green building practices continue to evolve across Canada, homeowners are no longer restricted to traditional, bulky racking systems. The residential market has experienced a massive wave of innovative roofing trends designed to blend energy generation seamlessly with clean home design. Today, property owners can choose between classic bolt-on panels or building-integrated photovoltaics (BIPV), commonly known as solar shingles.
Traditional solar arrays utilize heavy aluminum rails that are bolted directly through your roof surface into the wooden rafters below. This classic setup is incredibly efficient and can be adjusted to the perfect angle to capture maximum sunlight throughout the day. The main trade-off is visual appearance, as these heavy arrays sit several inches above your existing roof line, changing the profile of your home.
Conversely, solar shingles represent a massive leap forward in smart roofing technology by serving a dual structural purpose. Instead of sitting on top of an existing roof, these durable photovoltaic modules are the roofing material, installing flat and interlocking directly with your standard shingles. This design completely eliminates the need for heavy aluminum racking systems, distributing the dead load evenly across your roof deck rather than concentrating it on specific rafter bolt points.
For homeowners who prioritize clean lines and historic preservation, these low-profile shingles offer an incredibly attractive, modern alternative. They handle heavy wind uplift and shedding snow packs beautifully because there is no open gap underneath the panels for wind or ice to catch. However, they do carry a premium price tag and require specialized, factory-certified crews to handle both the roofing and complex electrical connections.
The Lifespan Matrix: Why Installation Timing Is Everything
The absolute biggest financial mistake a homeowner can make when going solar is ignoring the age of their existing roof substrate. A high-quality solar panel array is built to endure, regularly generating clean electricity for 25 to 30 years without major issues. If you proceed with a solar panel installation on asphalt shingles that are already 15 years old, you are setting yourself up for a financial nightmare down the road.
When that underlying roof surface inevitably fails a few years later, the entire solar array must be meticulously disconnected, unbolted, and lowered to the ground. Only then can a roofing crew execute a standard tear-off and replacement. Once the new roof is complete, the solar team must return to rebuild the racking system and wire the panels back into your electrical grid.
The Hidden Expense
Detaching and resetting a residential solar array during a roof replacement can easily add $5,000 to $10,000 in pure labour fees to the project. Failing to synchronize these lifespans completely wipes out the financial savings generated by your panels over the previous five years.
To protect your wallet, follow the golden rule of green integration: if your current roof has less than 10 to 15 years of reliable life left, execute a complete roof replacement before solar panels are delivered to your property. Pairing a brand-new roof with a brand-new solar array ensures both systems age together at the exact same pace. This smart timing completely eliminates the need for a premature, double-labor teardown down the road.
Substrate Breakdown: How Solar Mounts Affect Different Roof Surfaces
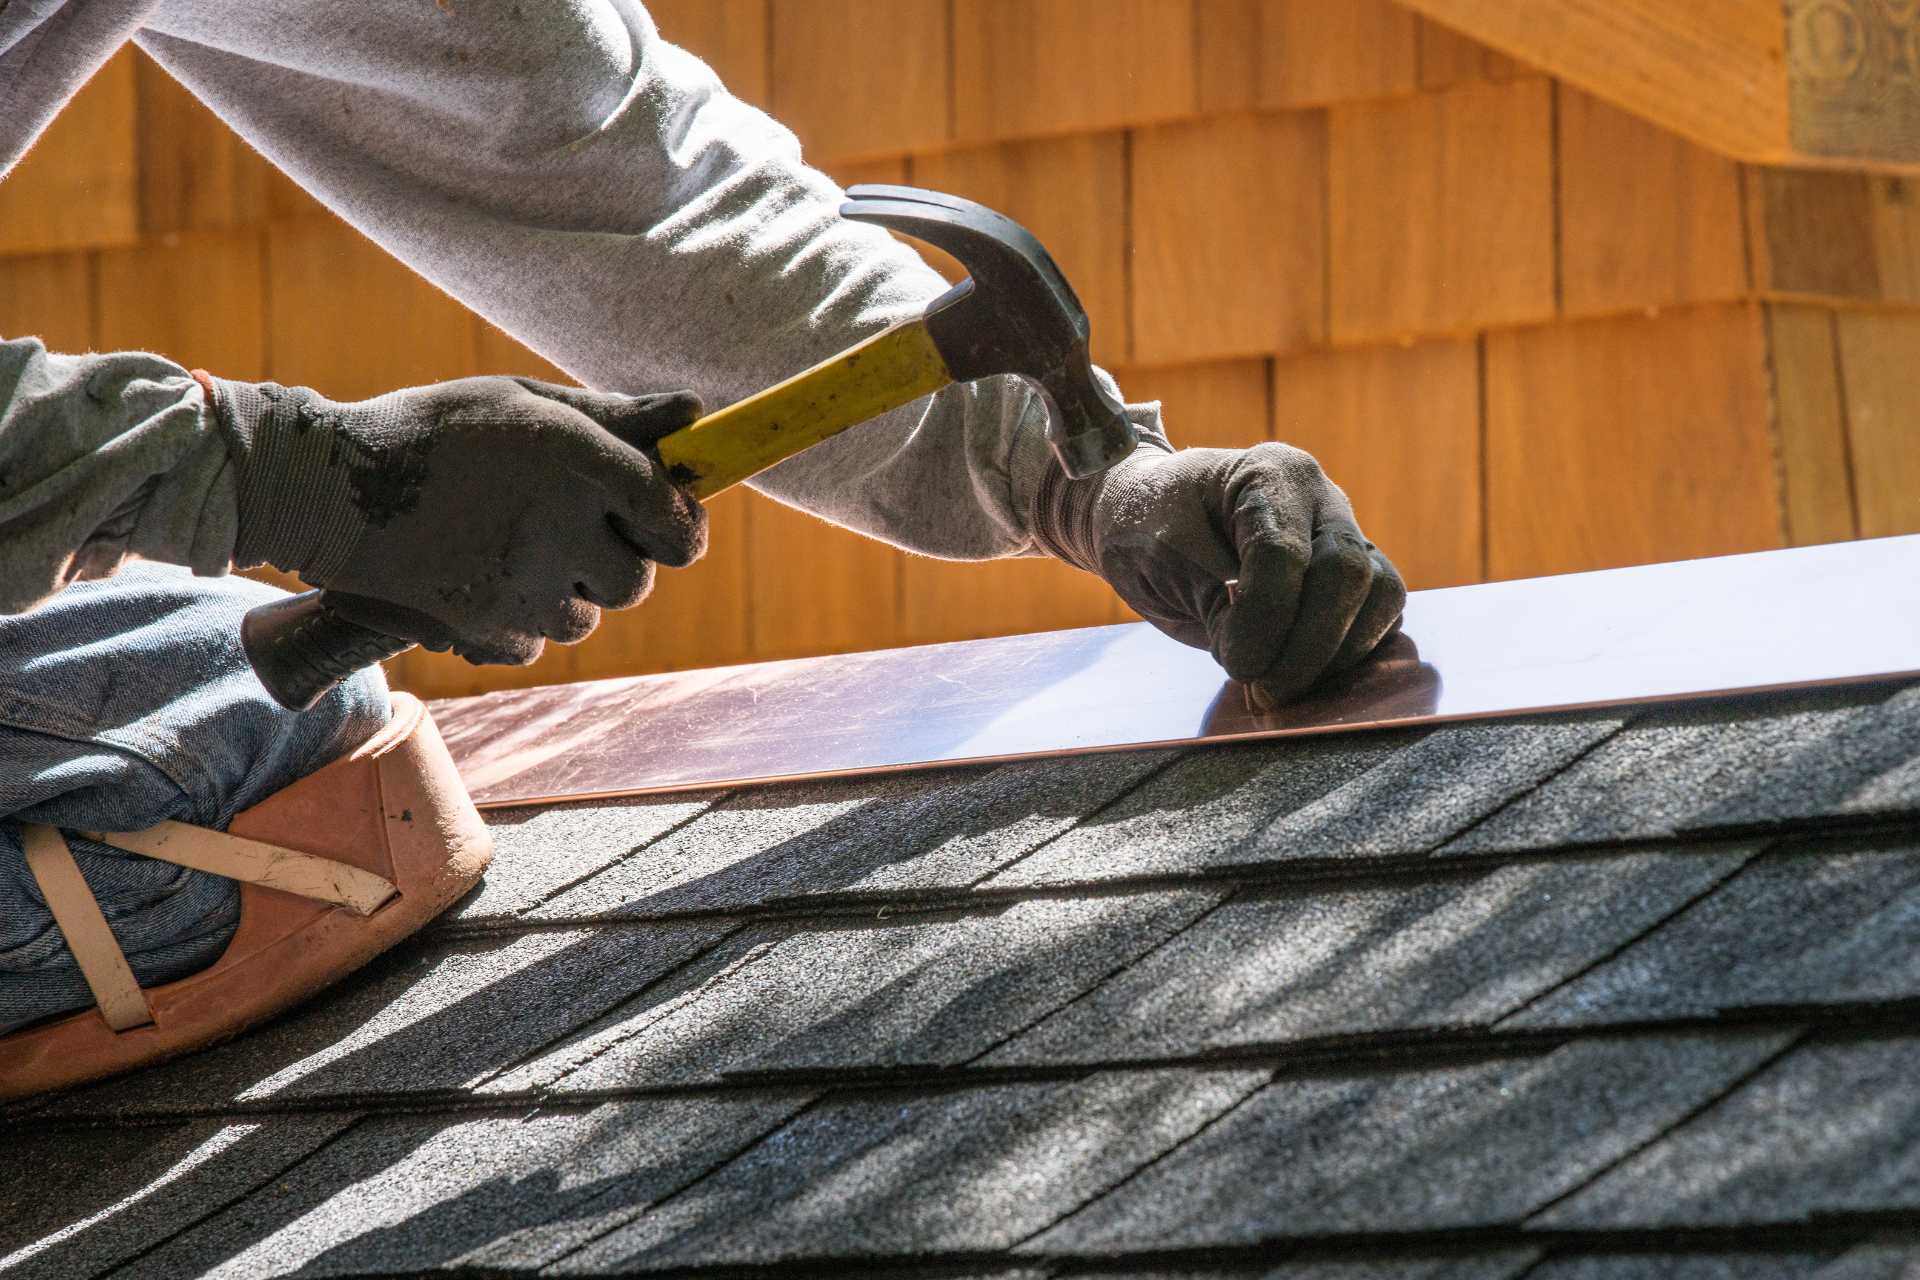
The specific material on your roof slope dictates your setup. It controls exactly how a solar crew will anchor the racking system to your home. On a standard asphalt shingle roof, installers use heavy lag bolts. They drive these straight through the shingle face into the center of your wooden rafters. Leaks can easily occur without proper protection. To prevent this, each lag bolt must be paired with an aluminum flashing plate. Installers then seal the area with premium, exterior-grade polymer sealants.
Your property might feature a standing-seam metal roof instead. In this case, the installation process is completely non-invasive. It carries zero risk of water entry into the home. The solar crew utilizes specialized, heavy-duty aluminum clamps. These tools grip the raised metal seams of the roof tightly. They secure the system without ever puncturing the steel panels. This method successfully preserves your original manufacturer warranties. It also allows the solar array to sit securely on a highly stable foundation.
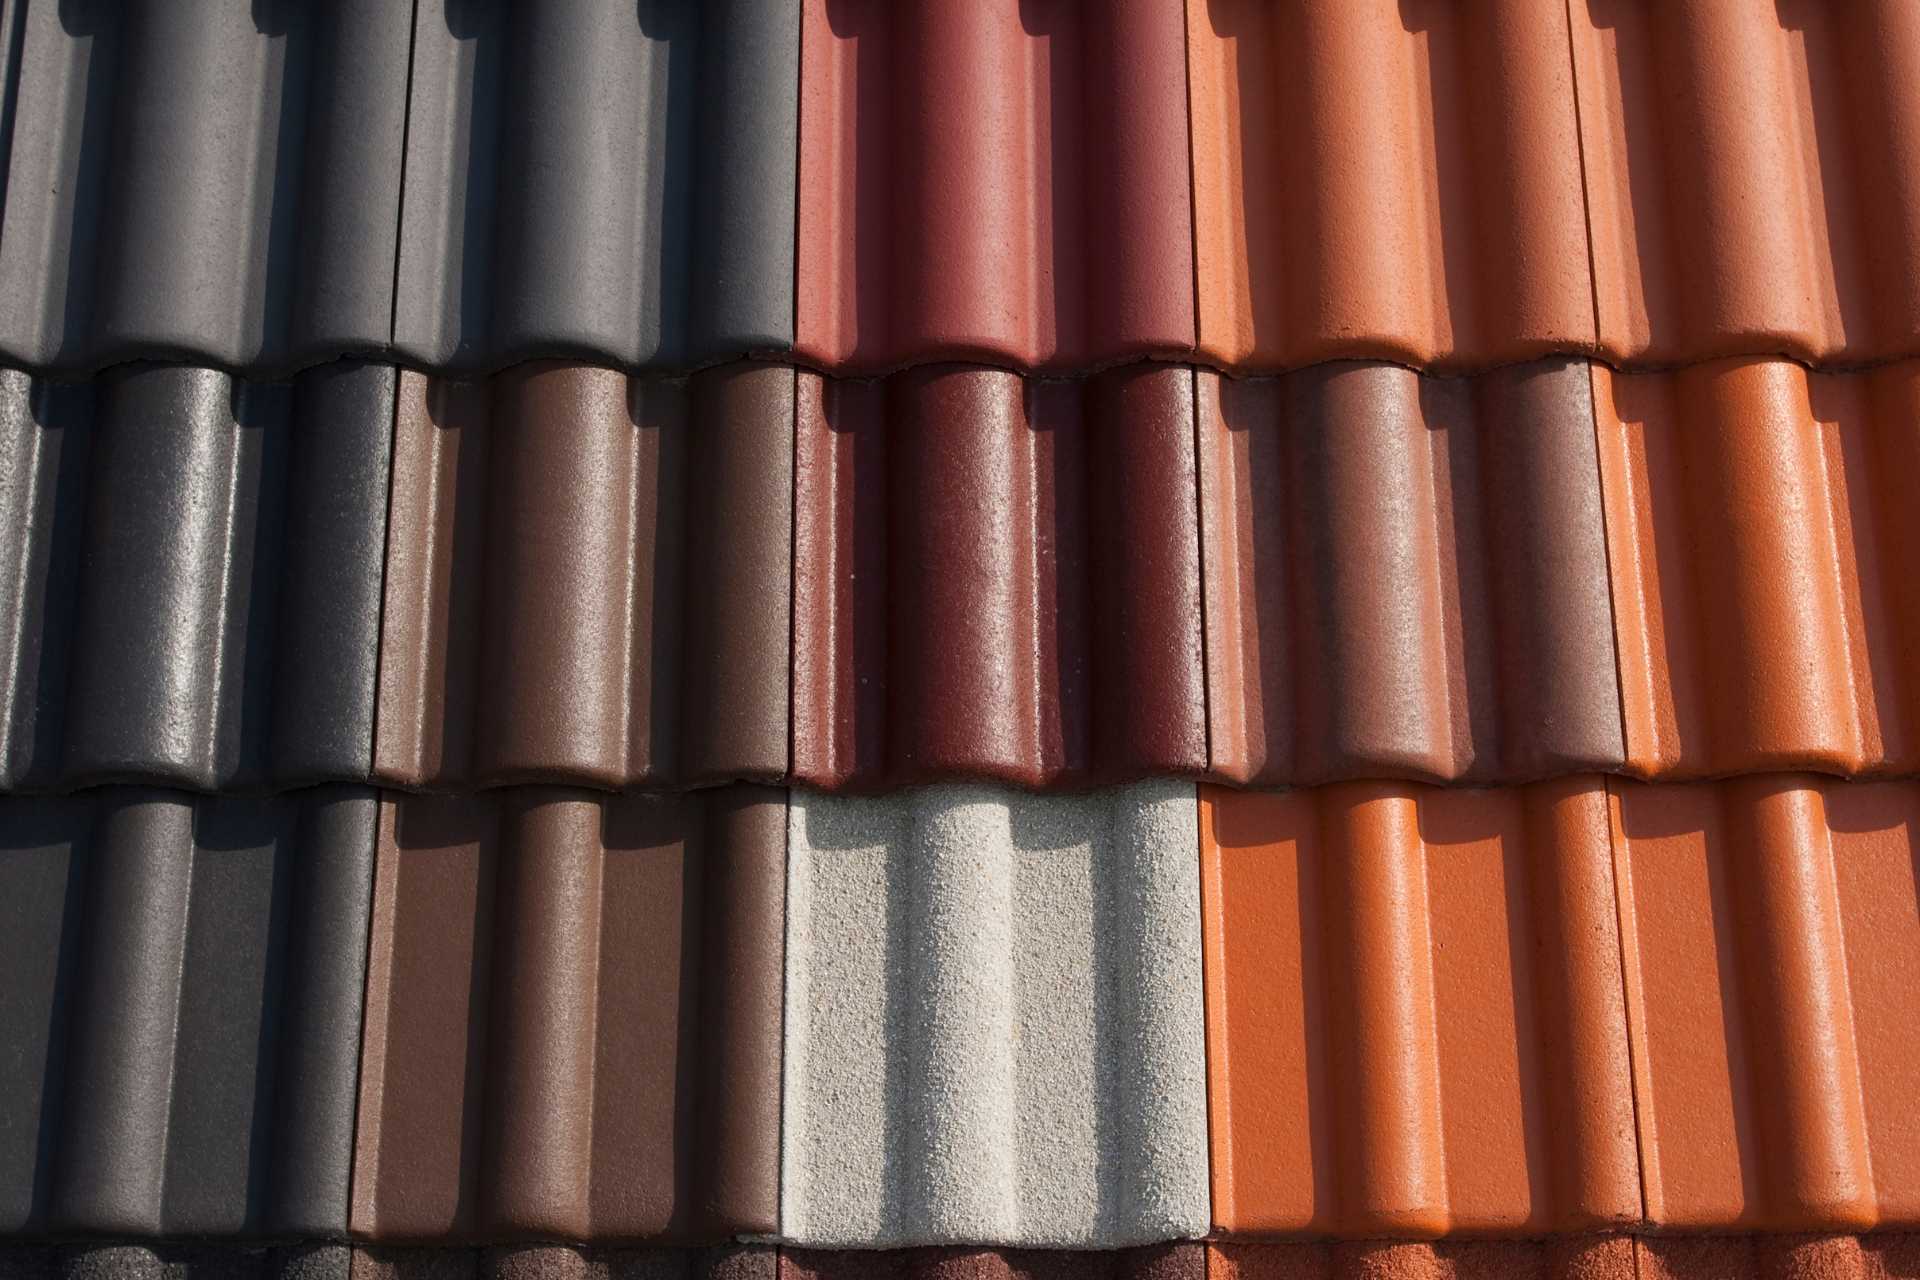
For homes with delicate concrete or clay tiles, the process changes drastically. The work becomes significantly more complex and labour-intensive. Installers cannot simply bolt mounts straight through a tile. Doing so would easily shatter the brittle material under the heavy weight load. Instead, the crew must carefully remove individual tiles from the slope. They then install specialized steel tile hooks directly onto the wooden roof deck. Finally, they cut or notch the tiles so they lay completely flush over the metal hooks.
The Pre-Solar Inspection: An Essential Homeowner Checklist
Before you sign a long-term contract with a solar provider, executing a quick, proactive inspection of your roof asset is highly recommended. These simple steps can help you spot structural red flags before an installation crew arrives:
- Attic Inspection: Grab a flashlight and look closely at your attic rafters for signs of water stains, mould growth, or sagging wood framing.
- Granule Audit: Check your gutters for heavy sand accumulation, which indicates your existing asphalt shingles are nearing the end of their operational lifespan.
- Structural Straightness: Step back from your property and look along the ridge line to ensure there are no visible dips or waves in the roof plane.
- Flashing Check: Inspect the metal valleys and chimney transitions from the ground to ensure no cracked sealants or rusted components are present.
The Bottom Line: Protecting Your Roof and Your Investment
Investing in eco-friendly roofing options is a fantastic way to upgrade your property, cut monthly bills, and contribute to a cleaner future. However, the long-term success of your green energy transition depends entirely on the structural integrity and timing of your installation. By verifying your roof weight capacity, choosing the right mounting technology, and ensuring your underlying roof surface is healthy, you protect both your home and your financial investment for decades to come.